
🏠 Home > 🗺️ Recipes > 🥘 Sauces > 🇵🇬 Papua New Guinea Sauces > 🥘 1.Fiery Highlands Chili Oil (The spicy kick you’ll want on everything) , 2.Creamy Coconut Ginger Sauce (The ultimate silky topping for seafood) , 3.Savory Peanut & Lime Condiment (The nutty, tangy dip for roasted roots)
🥘 Spice and Silk: The Secret Condiments of Papua New Guinea Home Cooking
Published by Supakorn | Updated: February 2026
Hey there! I am so glad you’re here. You know how sometimes you cook a perfectly good piece of grilled fish or a bowl of roasted vegetables, but it just feels like it’s missing something? That little "pop" of flavor that ties everything together? Well, today we are heading to the Pacific to solve that problem once and for all. We are talking about the bold, creamy, and sometimes fiery world of Papua New Guinea (PNG) Sauces.
In Papua New Guinea, food is often cooked simply—think steaming, roasting, or boiling fresh produce. But the magic happens when the condiments hit the plate. PNG sauces aren't like the heavy, processed bottled sauces you find in the supermarket. They are made from the freshest ingredients: hand-squeezed coconut milk, wild chilies, fresh ginger, and earthy nuts. They bring a "Bold Local Comfort" that transforms any meal into a feast.
Lately, these flavor profiles have been taking the international culinary world by storm. Chefs from New York to Sydney are starting to experiment with "Pacific Rim" sauces because they are naturally healthy, mostly plant-based, and pack a massive punch of flavor without needing a ton of salt or sugar.
In this guide, I’m going to show you how to make three of the absolute most popular and versatile sauces from the islands. These are the ones that every PNG household knows by heart:
🏆 • Recipe 1: Fiery Highlands Chili Oil (The spicy kick you’ll want on everything)
🏆 • Recipe 2: Creamy Coconut Ginger Sauce (The ultimate silky topping for seafood)
🏆 • Recipe 3: Savory Peanut & Lime Condiment (The nutty, tangy dip for roasted roots)
Get your jars ready, because these are about to become your new kitchen staples!
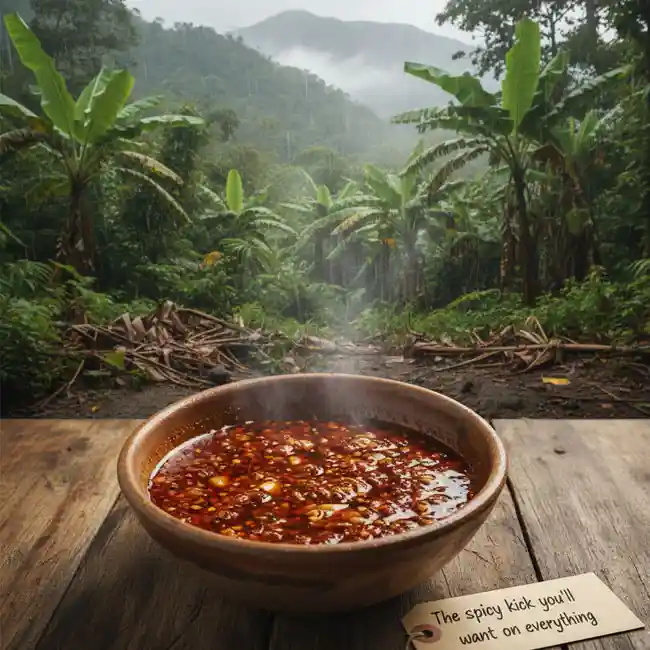
🔥 Recipe 1: Fiery Highlands Chili Oil (The spicy kick you’ll want on everything)
🌶️ About this Recipe
In the Highlands of Papua New Guinea, people love their spice. While many traditional dishes are mild, a side of fresh chili oil or "chili salt" is almost always present. This isn't your typical Chinese-style chili oil with star anise; this is a bright, raw, and vibrant oil that focuses on the heat of the bird’s eye chili and the punch of fresh garlic. It’s "cleaner" in flavor and works amazingly well on everything from eggs to grilled meats.
🌶️ Ingredients & Measurements
• 100 grams of fresh Red Bird’s Eye Chilies (stems removed)
• 250 ml of Coconut Oil (refined, so it stays liquid at room temp)
• 4 large cloves of Garlic (finely minced)
• 1 tablespoon of Sea Salt
• 1 teaspoon of Sugar (to balance the fire)
• 1 small piece of Turmeric (about 1 inch, grated)
🌶️ Step-by-Step Instructions
1.The Chop: Start by finely mincing the chilies. You can do this by hand if you’re brave (wear gloves!), but a quick pulse in a food processor works wonders. You want a coarse texture, not a smooth paste.
2.Infuse the Oil: In a small saucepan, heat the coconut oil over low heat. Add the grated turmeric. The oil will turn a beautiful, bright orange-gold color.
3.The Sizzle: Add the minced garlic to the oil. Cook it gently for about 3 to 4 minutes until the garlic is golden but not brown. If the garlic burns, the oil will turn bitter.
4.Add the Fire: Stir in the minced chilies. Let the mixture simmer on the lowest possible heat for about 10 minutes. This slow infusion draws the heat and the flavor out of the chilies into the oil.
5.Seasoning: Stir in the salt and sugar. Once the sugar has dissolved, turn off the heat.
6.Cooling and Jarring: Let the oil cool completely in the pan. Once cool, pour it into a sterilized glass jar. The chilies will settle at the bottom, creating a beautiful "sediment" of flavor.
🌶️ Tips & Mistakes to Avoid
• Watch the heat: If the oil is too hot when you add the chilies, they will fry and turn dark brown. We want them to stay vibrant red.
• Salt is your friend: This sauce relies on salt to preserve the fresh ingredients. Don't be tempted to cut the salt too much, or it won't have that "bold" comfort feel.
• Freshness matters: Use fresh chilies, not dried flakes. The moisture in fresh chilies gives the oil a "sauce-like" quality that dried flakes just can't match.
🌶️ FAQ
Q1.How long does it last?
Since it’s oil-based with salt, it will stay fresh in the fridge for up to a month.
Q2.Can I use a different oil?
Yes, any neutral oil like avocado or grapeseed works, but coconut oil provides that authentic island aroma.
🌶️ Summary
This Highlands Chili Oil is for the heat seekers. It’s simple, raw, and incredibly powerful. A little spoonful goes a long way in waking up your palate.
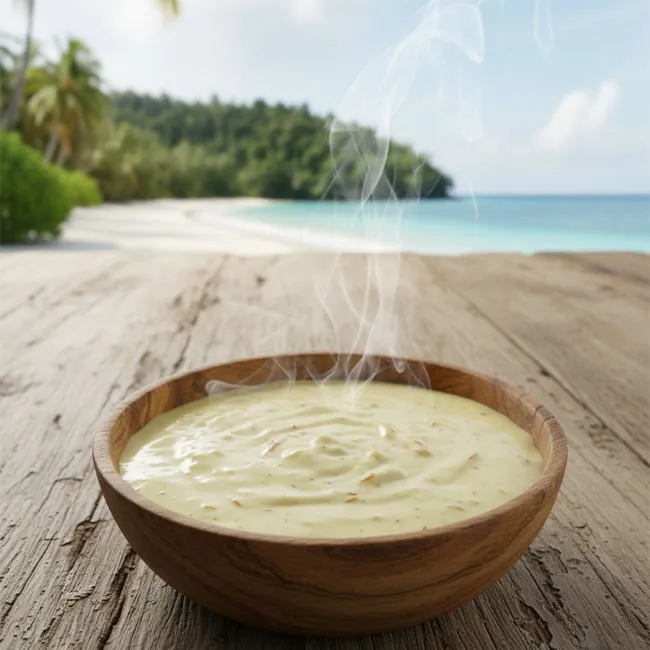
🥥 Recipe 2: Creamy Coconut Ginger Sauce (The ultimate silky topping for seafood)
🌶️ About this Recipe
This is arguably the most versatile sauce in the PNG culinary toolkit. It is the base for many "Mumu" style dishes, but it also stands alone as a beautiful pouring sauce. It’s thick, luxurious, and the sharp bite of ginger cuts through the richness of the coconut perfectly. It’s specifically designed to be poured over steamed fish, boiled sweet potatoes, or even grilled chicken.
🌶️ Ingredients & Measurements
• 400 ml of thick Coconut Cream (the best quality you can find)
• 3 tablespoons of fresh Ginger (grated into a fine paste)
• 2 stalks of Lemongrass (white parts only, bruised and finely chopped)
• 1 small White Onion (grated or very finely diced)
• 1/2 teaspoon of Black Pepper
• 1 teaspoon of Salt
• Juice of 1 Lime
🌶️ Step-by-Step Instructions
1.Sauté the Aromatics: In a small pan, add two tablespoons of the coconut cream. Add the onion, ginger, and lemongrass. Sauté over medium heat until the onion is soft and translucent.
2.The Main Pour: Pour in the rest of the coconut cream. Stir well to combine all the aromatics.
3.Simmer and Thicken: Bring the sauce to a very gentle simmer. You want the liquid to reduce slightly until it coats the back of a spoon. This should take about 10 to 12 minutes.
4.The Flavor Balance: Stir in the salt and black pepper. Taste it—you should feel a warmth from the ginger and a richness from the coconut.
5.The Acid Kick: Remove the pan from the heat and stir in the lime juice. The acid will brighten the whole sauce and prevent it from feeling too "heavy."
6.Strain (Optional): If you like a perfectly smooth sauce, you can pour it through a fine mesh strainer to remove the bits of lemongrass and onion. However, in a PNG home, we usually leave them in for texture!
🌶️ Tips & Mistakes to Avoid
• Don't boil too hard: Coconut cream can "split" (look curdled) if it boils too vigorously. Keep it at a gentle bubble.
• Fresh ginger is mandatory: Do not use powdered ginger here. You need the juice and the "zing" of the fresh root to make this sauce work.
• Bruise the lemongrass: Before chopping the lemongrass, hit it with the back of your knife. This breaks the cells and releases the fragrant oils.
🌶️ FAQ
Q1.What do I serve this with?
It’s incredible over steamed white fish or roasted squash. It also makes a great dipping sauce for bread.
Q2.Can I make it ahead?
Yes, you can keep it in the fridge for 3 days. It will thicken up in the fridge, so just warm it gently on the stove to make it pourable again.
🌶️ Summary
The Coconut Ginger sauce is pure liquid gold. It’s elegant enough for a dinner party but simple enough for a Tuesday night at home. It’s the definition of "creamy comfort."
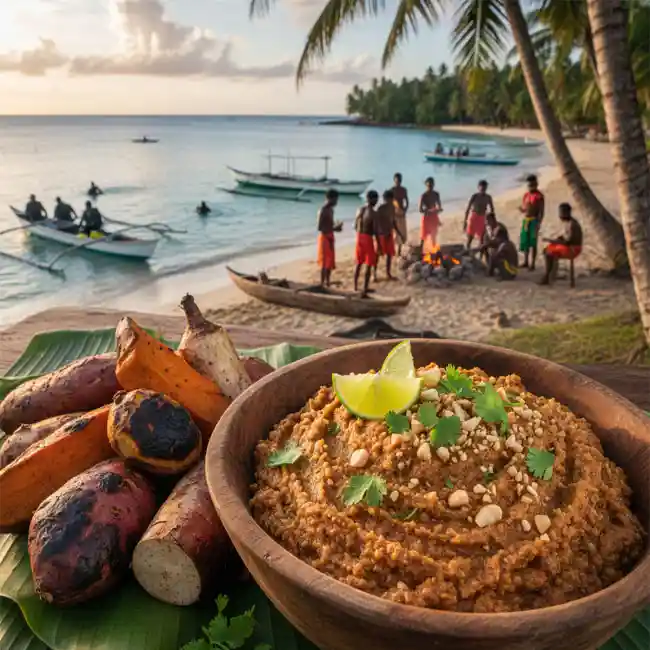
🥜 Recipe 3: Savory Peanut & Lime Condiment (The nutty, tangy dip for roasted roots)
🌶️ About this Recipe
Peanuts (known as "galip" nuts in some regions, though peanuts are widely used now) are a huge part of the PNG diet. This sauce is a rustic, home-style version of a peanut sauce that is much more "fresh" and tangy than a heavy satay. It’s thick, crunchy, and has a beautiful balance of savory and sour. It is traditionally eaten with roasted taro or cassava, providing much-needed moisture and protein to the root vegetables.
🌶️ Ingredients & Measurements
• 1 cup of Roasted Peanuts (unsalted)
• 1/2 cup of warm Water
• 2 cloves of Garlic (raw)
• 1 fresh Green Chili (optional)
• 1 tablespoon of Honey
• 3 tablespoons of fresh Lime Juice
• 1/2 teaspoon of Salt
• 1 small handful of fresh Cilantro (coriander), chopped
🌶️ Step-by-Step Instructions
1.The Crush: Traditionally, this would be made with a mortar and pestle. If you have one, use it! Crush the peanuts until they are mostly broken down but still have some crunchy "pebbles" left. If using a blender, pulse it briefly—don't turn it into smooth peanut butter!
2.The Garlic Paste: Mash the garlic and green chili into a paste and add it to the peanut mixture.
3.Hydrate: Slowly stir in the warm water. The peanuts will absorb the water and turn into a thick, spreadable paste.
4.Zest it Up: Stir in the lime juice, honey, and salt. The lime juice will turn the mixture slightly paler and give it a wonderful tang.
5.The Greenery: Fold in the chopped cilantro. This adds a fresh, herbal note that balances the heavy peanuts.
6.Adjust Consistency: If the sauce is too thick to dip, add another tablespoon of water. If you want it as a spread for bread, keep it thick.
🌶️ Tips & Mistakes to Avoid
• Don't use store-bought peanut butter: Commercial peanut butter usually has added sugar and oils that will change the flavor completely. Roast your own peanuts for the best results!
• Use raw garlic: The raw garlic gives this sauce a "bite" that is characteristic of PNG home cooking. If you find raw garlic too strong, you can lightly sauté it first, but you'll lose that authentic kick.
• Serve at room temperature: The flavors are most vibrant when the sauce isn't ice-cold from the fridge.
🌶️ FAQ
Q1.Can I use other nuts?
Yes, roasted cashews or macadamias work beautifully and give an even creamier result.
Q2.Is this a "satay" sauce?
It’s similar, but without the soy sauce and ginger usually found in Asian satay. It’s more lime-forward and "earthy."
🌶️ Summary
This Peanut & Lime Condiment is a textural delight. It’s salty, sour, and nutty, making it the perfect partner for any starchy vegetable or even as a spread for grilled flatbreads.
✨ Final Thoughts
There you have it—the three pillars of a Papua New Guinea flavor profile! Making these sauces at home is honestly one of the easiest ways to expand your cooking "vocabulary." You don't need fancy equipment, and you don't need to spend hours at the stove. All you need are a few fresh, bold ingredients and a bit of a "friendship" with your mortar and pestle.
The beauty of these Papua New Guinea Sauces is that they are so adaptable. Once you master the Coconut Ginger sauce, you can start adding chilies to it. Once you love the Peanut Condiment, you might try adding some grated turmeric. These recipes are just the starting point for your own kitchen adventure.
I really hope you give these a try. Start with whichever one sounds the most delicious to you right now—maybe the chili oil if you’re feeling bold, or the coconut sauce if you want something soothing.
Try making them one by one, and I promise you’ll start seeing your regular meals in a whole new light. And hey, if you do make them, I’d love to hear about it! Which one became your new favorite? Did you find a perfect food pairing that I didn't mention? Let's keep the conversation going!
Happy cooking, and enjoy those bold island flavors!
| 🇵🇬 🥘 < Back |